Here we’ve listed all your requirements in terms of Hardware.
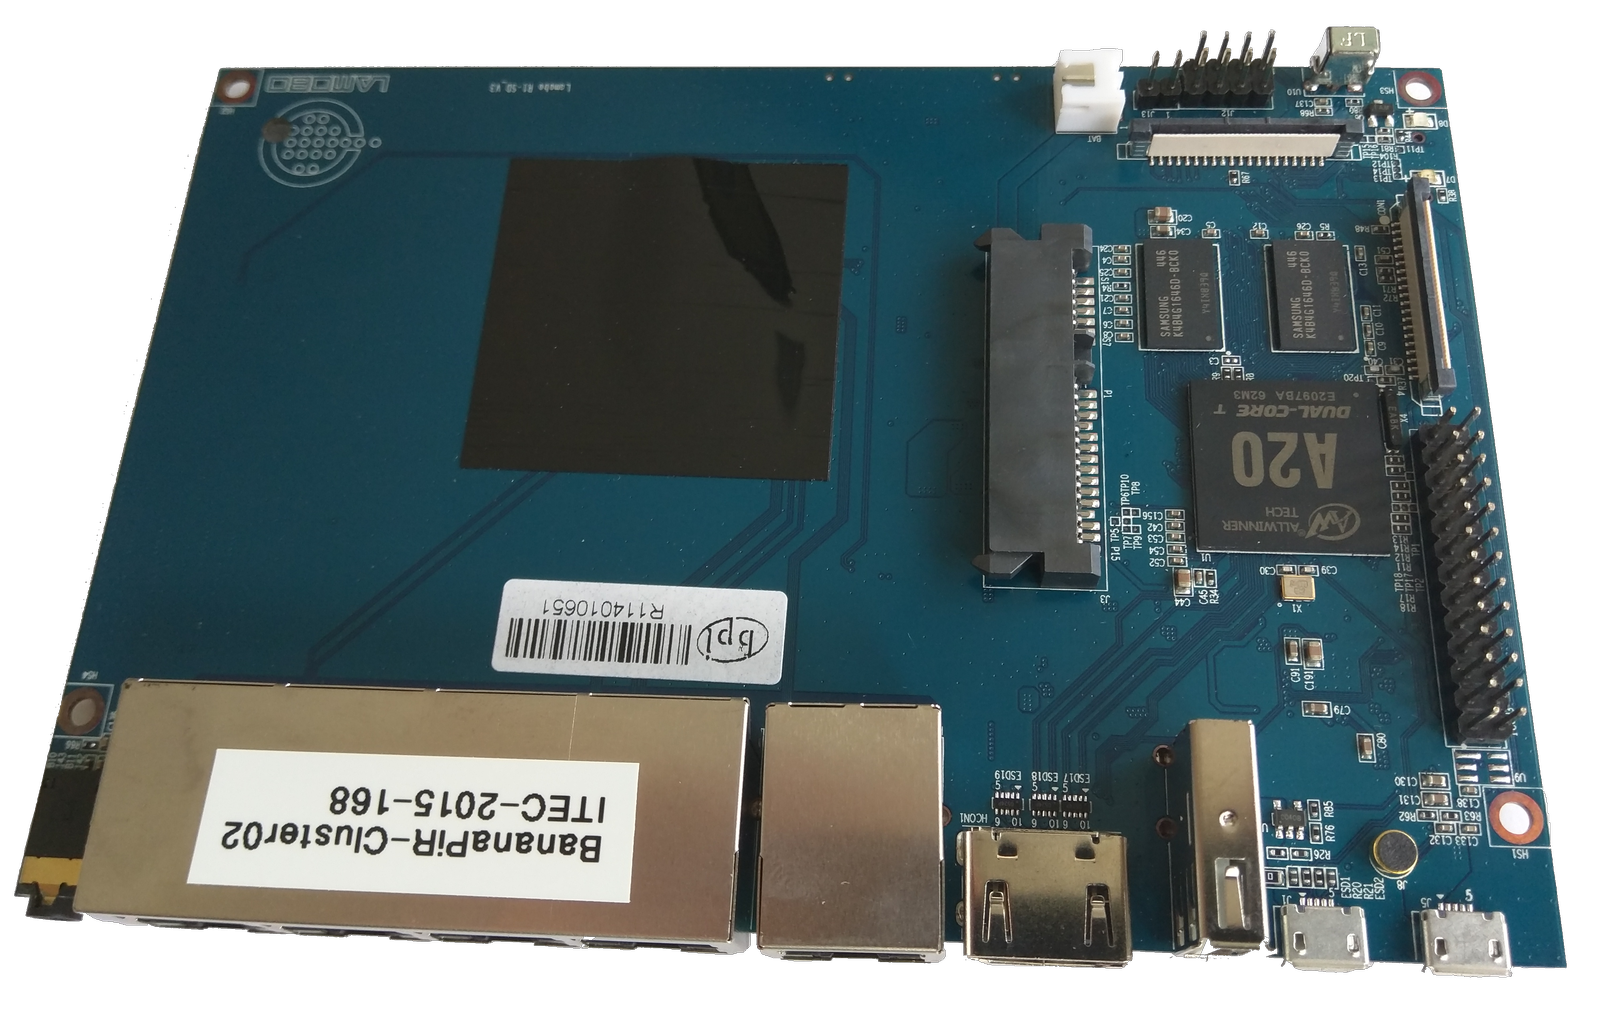
Banana Pi Router (BPI-R1)

- BPI-R1 x 20 (amount can be varied)
- Banana R1CASE enclosure for every Pi (custom solution may also be suitable for your purposes)
We are using the Banana Pi BPI-R1 Dual-core Open-source smart router. Its complete hardware specification can be found on the manufacturer’s homepage. For a decent network size we chose to acquire twenty devices, an amount you can of course vary at your leisure. As casing we decided to purchase the transparent Banana R1CASE but for whatever solution you choose please keep in mind that you should not place the devices too close together and put them in a cool environment (e.g. server room). Otherwise they won’t perform as expected or even crash under high workload.
The BPI-R1 Router features five network ports as well as wireless capabilities using two detachable antennas. For our setup the network ports suffice, although the option of using several wireless hops will certainly be interesting for future mobile environment studies. Our current simple network only utilizes two ports on every router in order to build two separate networks: one for management and one for the emulation purposes (see architecture illustration).
Storage
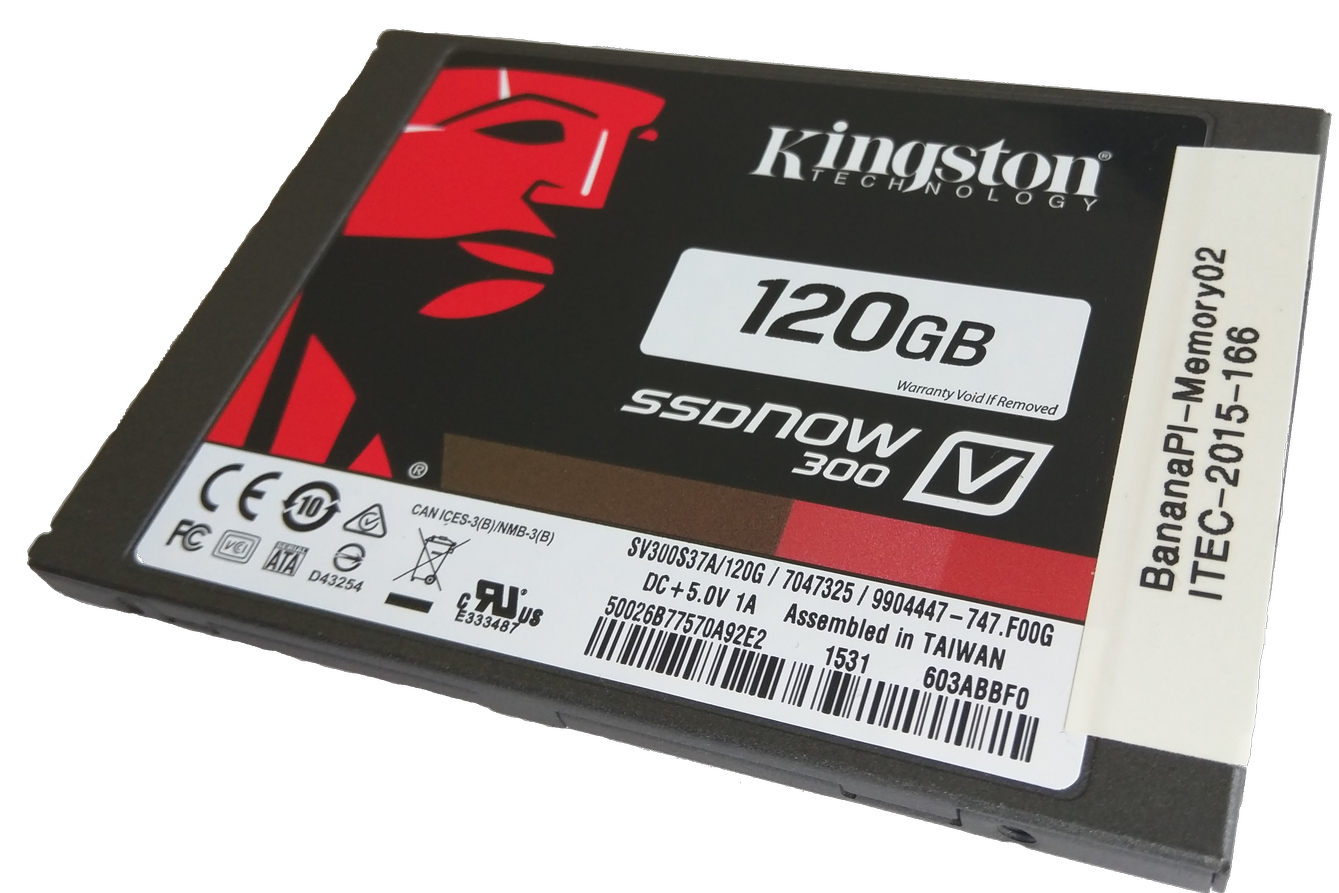

- 1 SSD per Pi (size: 120 GB)
- 1 micro SD per Pi (size: 8 GB or less, holds only the boot image)
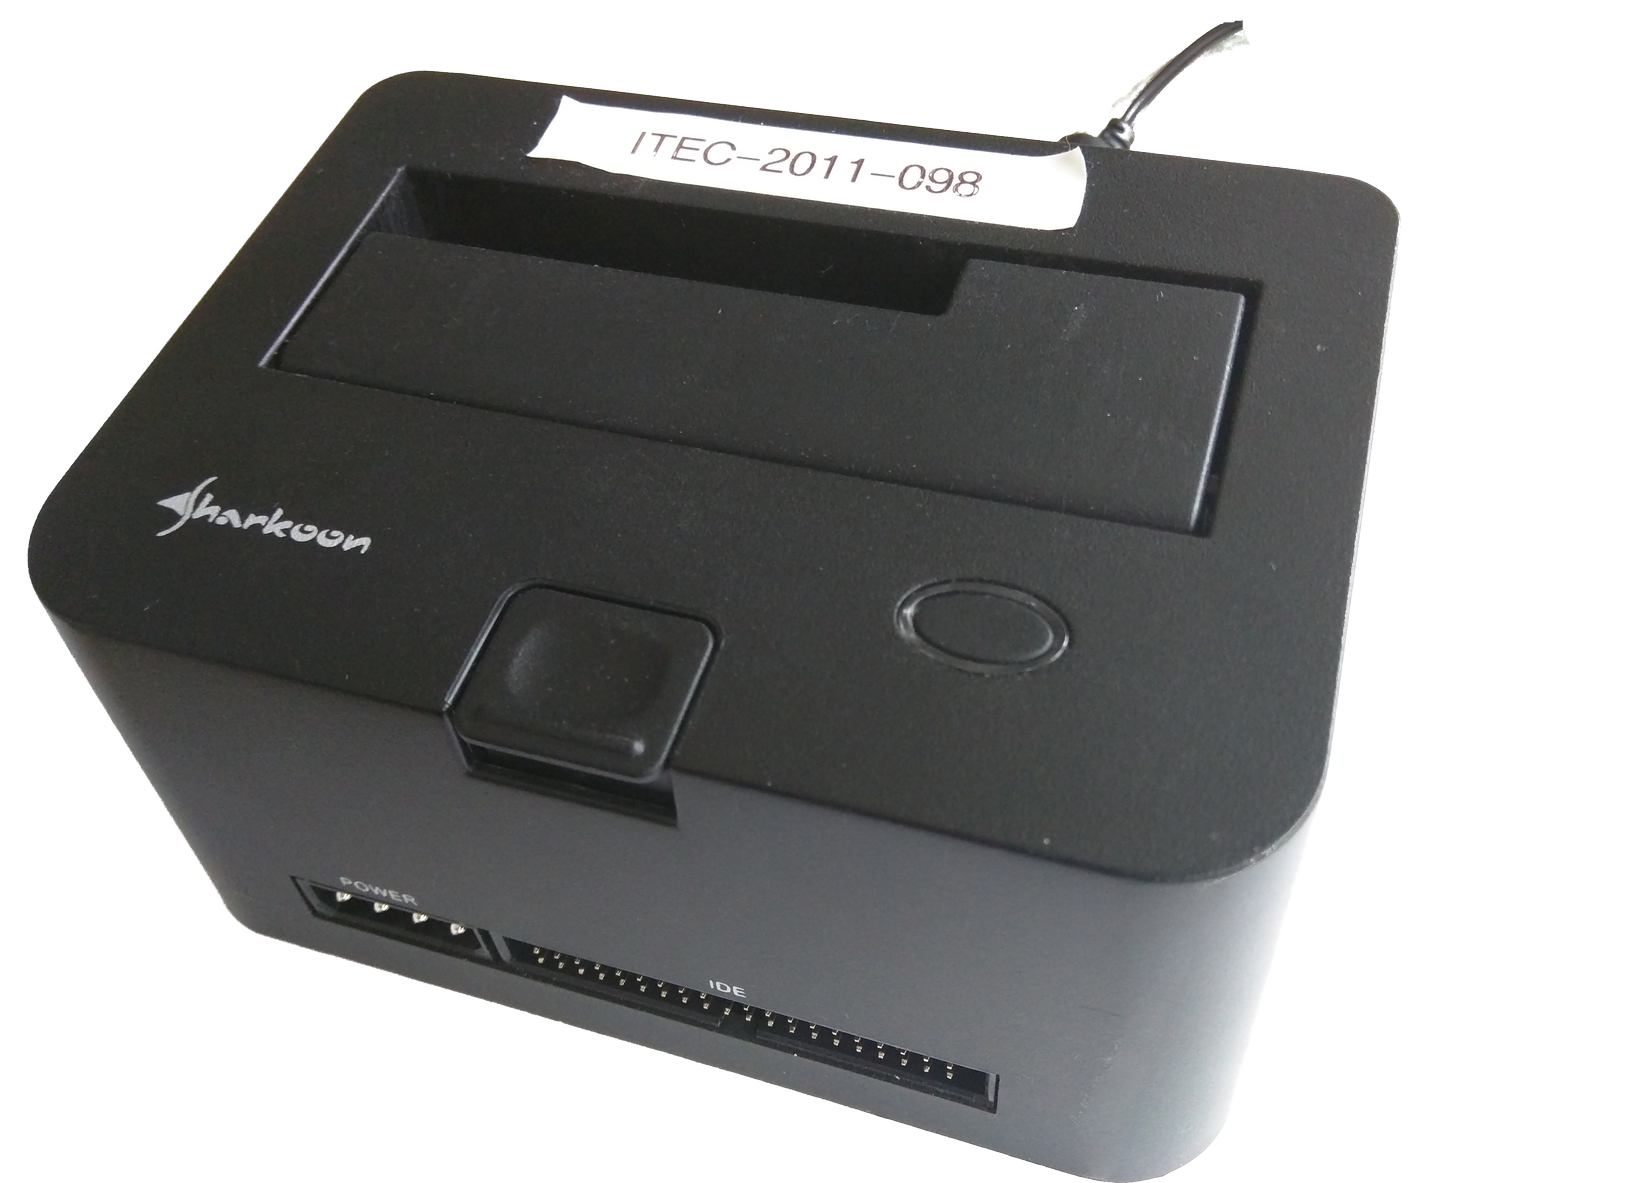
- Solution to transfer the images (e.g. laptop with SD card slot and docking station with SATA slot)
Out of the box a Banana Pi Router can only be booted from a micro SD card containing an operating system, but it also features a SATA interface, which can be equipped with an SSD drive. We chose to equip every router with such a drive (Kingston 120 GB) in order to have a decent amount of cache at our disposal and for a quicker I/O rate. However, to enable the the usage of an SSD we had to make two important adjustments: by default the SSD power supply configuration was not set right and the micro SD needed to be properly configured to support booting from the SSD. Using our provided images in the Download section you shouldn’t have to worry about these problems – if you nevertheless are interested in these fixes please refer to following links:
- SSD power supply configuration fix can be found here.
- Booting from an attached SATA disk is described here.
You also will need a solution to transfer our images onto your micro SDs and SSDs. For the micro SDs a common laptop with an SD card slot suffices (keep in mind that you need an adapter card for this). For mounting the SSDs a flexible solution would be an USB SATA adapter (preferably USB 3.0 for better transfer rates).
Power Supply

- Several high quality USB power hubs with enough ports to supply all your Pis
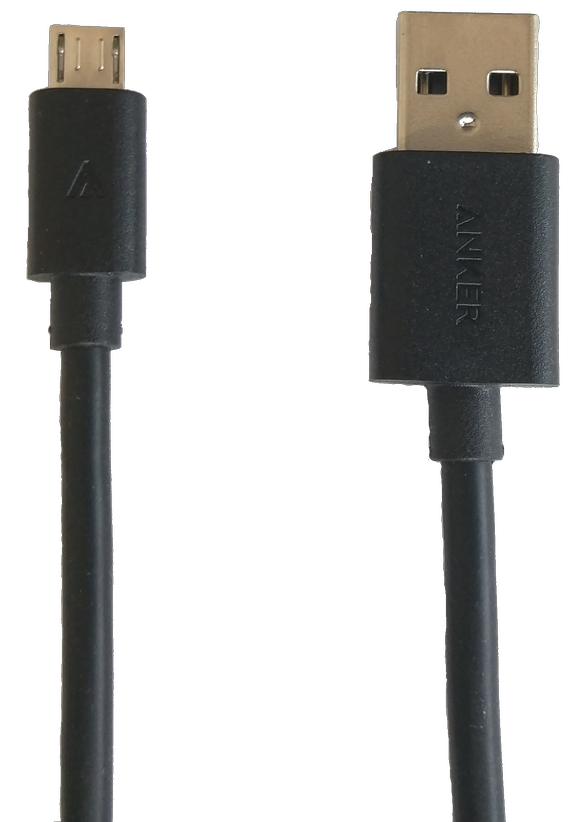
- 1 good USB power cable per PI (micro-B/USB, preferaby branded)
When using an attached SSD drive, it is very important to carefully consider the power supply for the devices. A good, stable power supply unit should be used in combination with short cables that do not drop voltage, otherwise the Banana Pis could crash under heavy load (CPU or I/O). Every Banana Pi Router needs a steady 5V 2A power supply to function properly. Please also carefully choose your USB power hubs as they should be powerful enough to supply all attached devices – in case of doubt rather connect fewer Banana Pis and buy more power hubs. We are using Anker products, which turned out to do a good job:
- Anker PowerLine micro USB
- Anker PowerPort 5 / PowerPort 10
Note: If you are using the Banana R1CASE enclosure please be advised that the slit through which you connect the power cable to the device is rather small – not every cable will fit through perfectly and with some products you will end up having loose connections often resulting in unexpected behavior. Unfortunately the only solution to this is to widen the slit for a better fit using appropriate tools (e.g. a Dremel rotary device).
Network Switches and Cables


- Two switches with enough ports to enable interconnecting all your Pis
- Two patch cables for every Pi in your setup (preferably in two different colors, e.g. red and blue)
Two Ethernet switches serve to build the aforementioned separate networks for management and emulation (see architecture illustration), each forming a star topology. We suggest using different colored cables for each network (e.g. red for management, blue for emulation) so you don’t loose track when building your solution – the bigger your setup the easier wires can get tangled up.
Gateway PC


- A PC powerful enough to run a basic linux distribution (e.g. Ubuntu 14+)
- Two Ethernet cards for the PC to be able to be part of two separate networks (your intranet and the management network)
It is a good practice to employ a single gateway computer that connects all authorized personnel to your Banana Pi network. This is accomplished by equipping it with two Ethernet cards (or an on-board port together with one card), connecting one of them to the network you want to access the Gateway with and the other to the switch for the Banana Pi Management network.
Optional Accessories
- HDMI cable and possibly appropriate converters to connect a Banana Pi to a monitor
- Keyboard to be able to issue commands to an attached device
Optional components are only necessary if you want to directly access a Banana Pi Router (in case you want to reconfigure the network ports etc.). They can be disregarded if you are planning to use our NDN NFD solution as we provide it (Router access will be enabled through the Gateway computer, see Step-by-Step Guide).
continue to Step-by-Step Guide